Advanced Settings
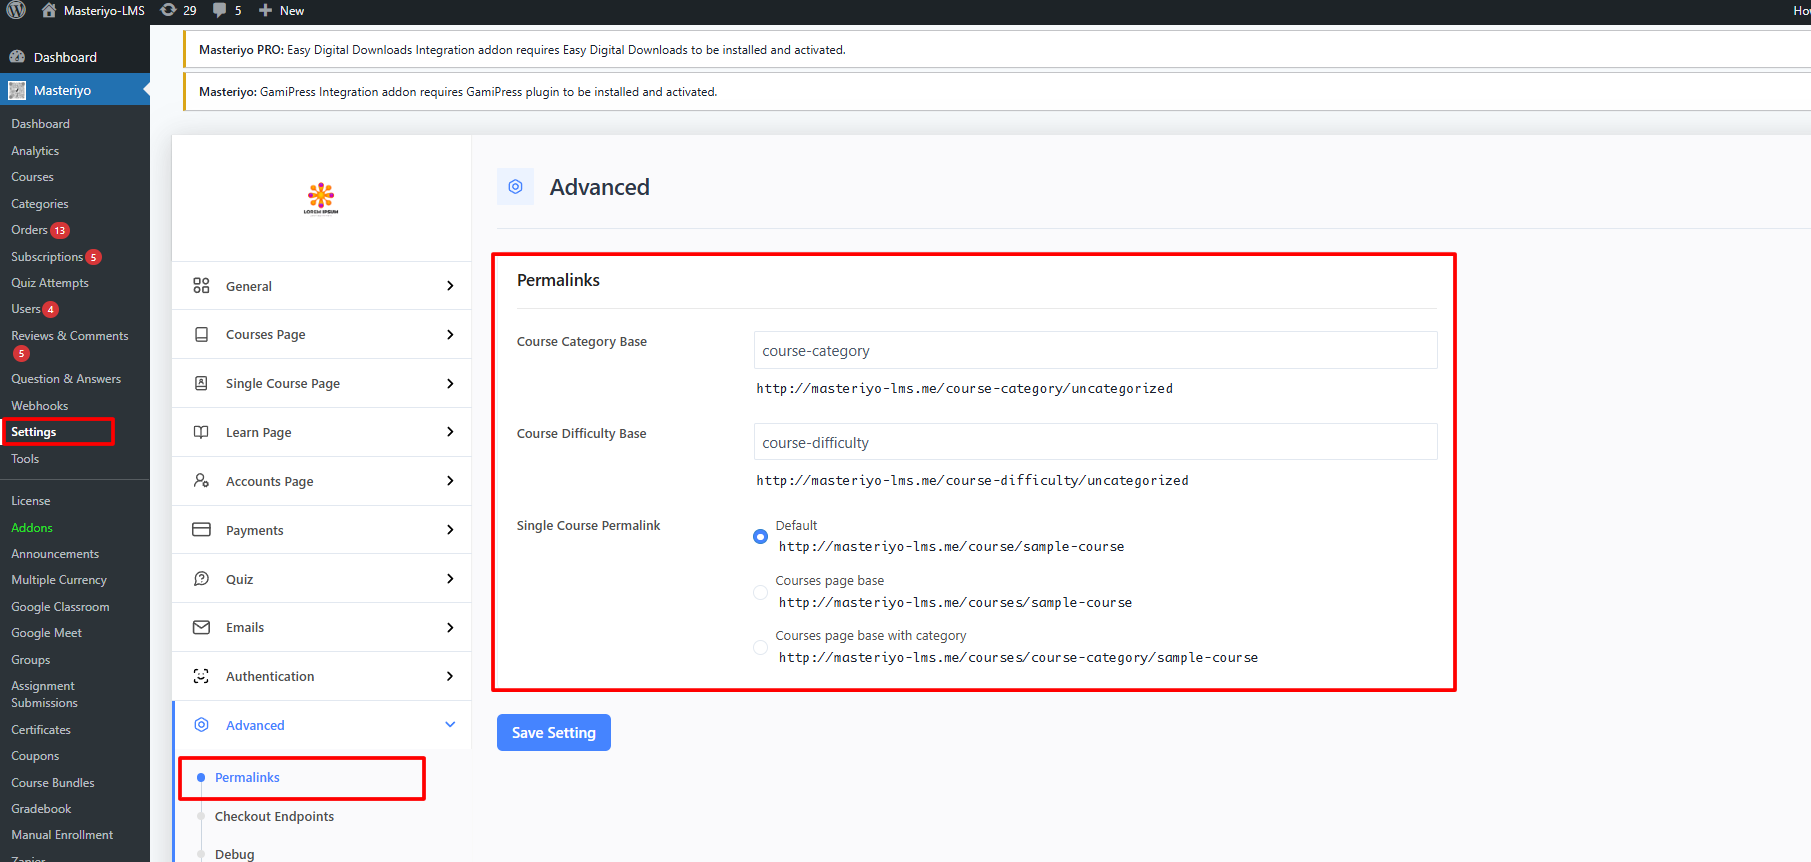
Permalinks

Here you can set the permalinks for different pages as shown in the above image.
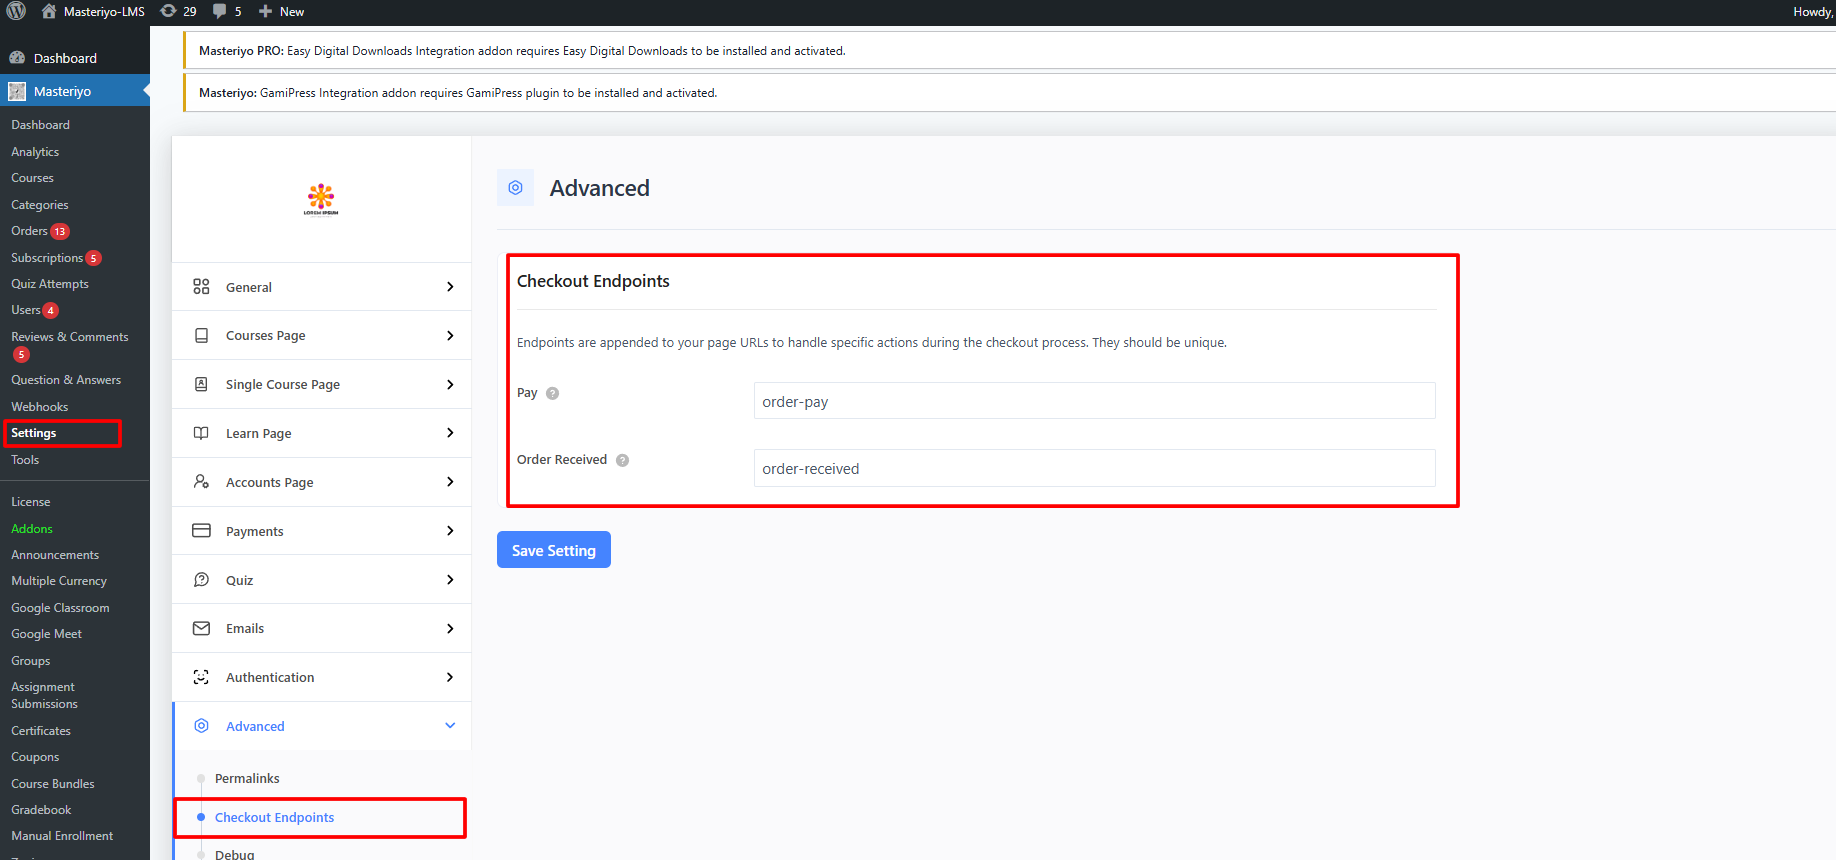
Checkout Endpoints

Add a unique endpoint for each of the functions related to the checkout like order, pay, etc.
Debug

This section is meant for the developers and is for testing purposes only. Do not enable this on a live site.
- Template Debug - Enable this option for template debugging.
- Debug - Enable this for the plugin debugging.
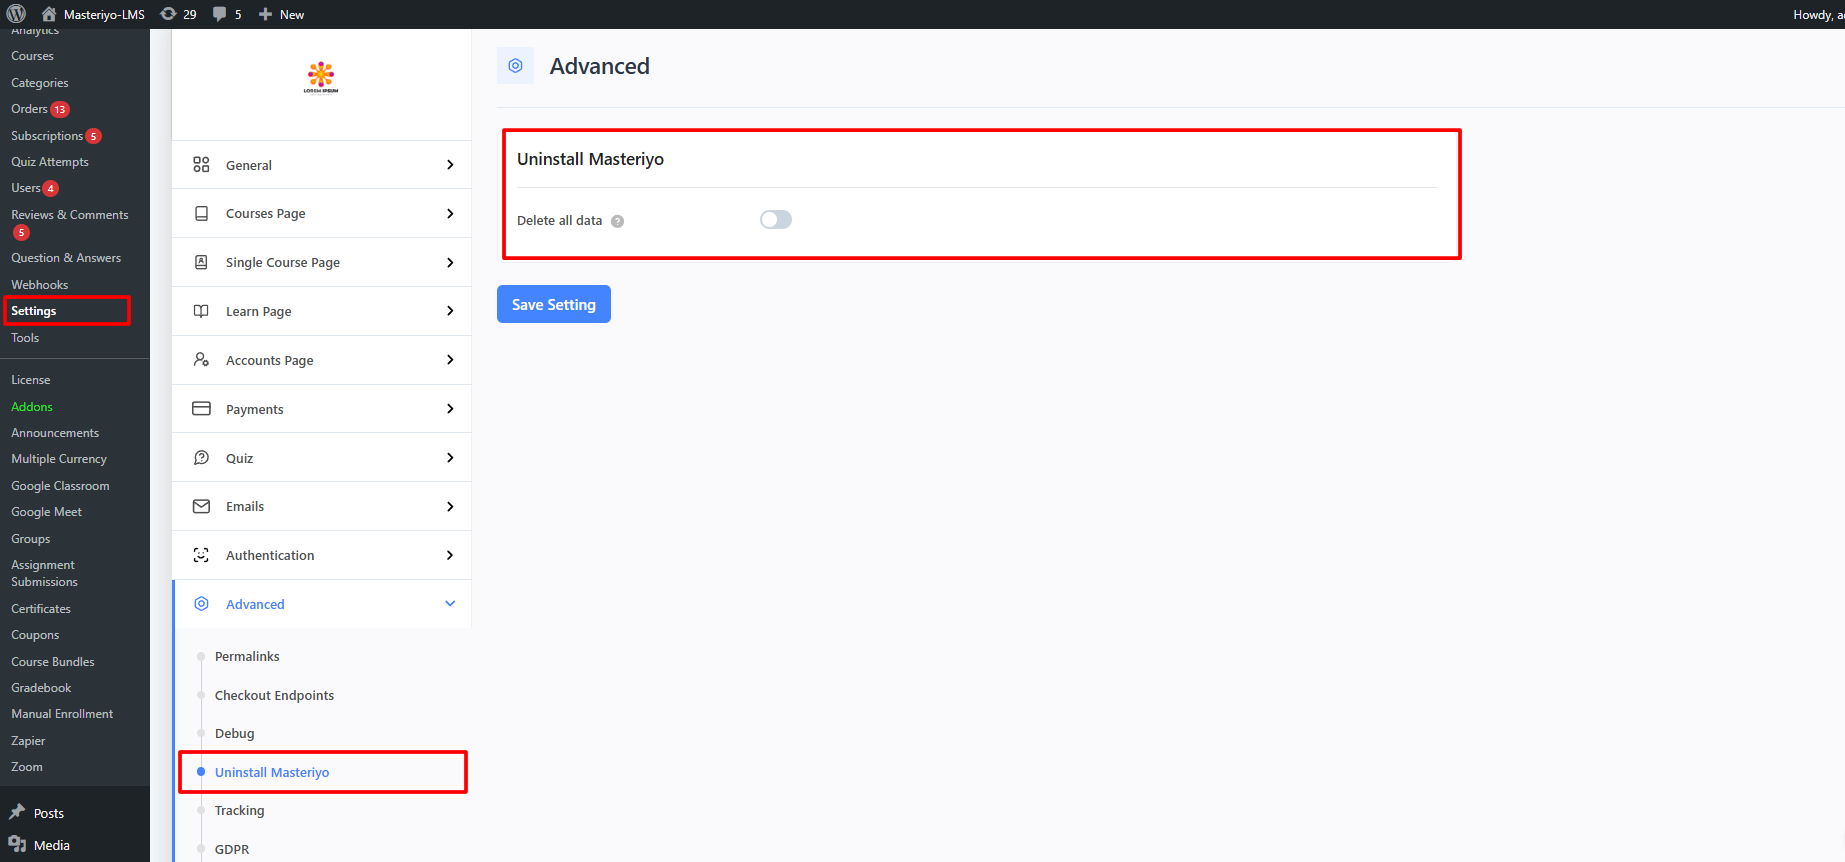
Uninstall Masteriyo

If you enable this option, all the data of the Masteriyo plugin will be deleted from your site when you uninstall the plugin.
Tracking
![]()
Allow Usage Tracking — Enable this option to allow us to track the environment in which you use the Masteriyo plugin. The tracking feature will only track non-sensitive data.
Wanna know which data are shared?
Track Student Activity [Pro] — Enable this option to track user activity on the learn page, such as time spent and actions on lessons, quizzes, and assignments. This will help you understand user engagement and improve the learning experience.
-
Server Sync Interval Duration -Set the interval duration for syncing the user activity data to the server. The duration is in minutes, and the default value is 5 minutes.
-
Idle Time Threshold— Set the idle time threshold. The duration is in minutes, and the default value is 30 minutes.
For detailed information about the Student Activity Tracking feature, please check this link: https://docs.masteriyo.com/faqs/track-student-activity
GDPR

Please make sure you have selected the Privacy Policy page from Admin Dashboard > Settings > Privacy. Also, the page must be in published status.
Enable this feature to make sure the user's consent is taken in consideration to know if they have read the privacy policy of your site or not. This makes the plugin GDPR compliant.
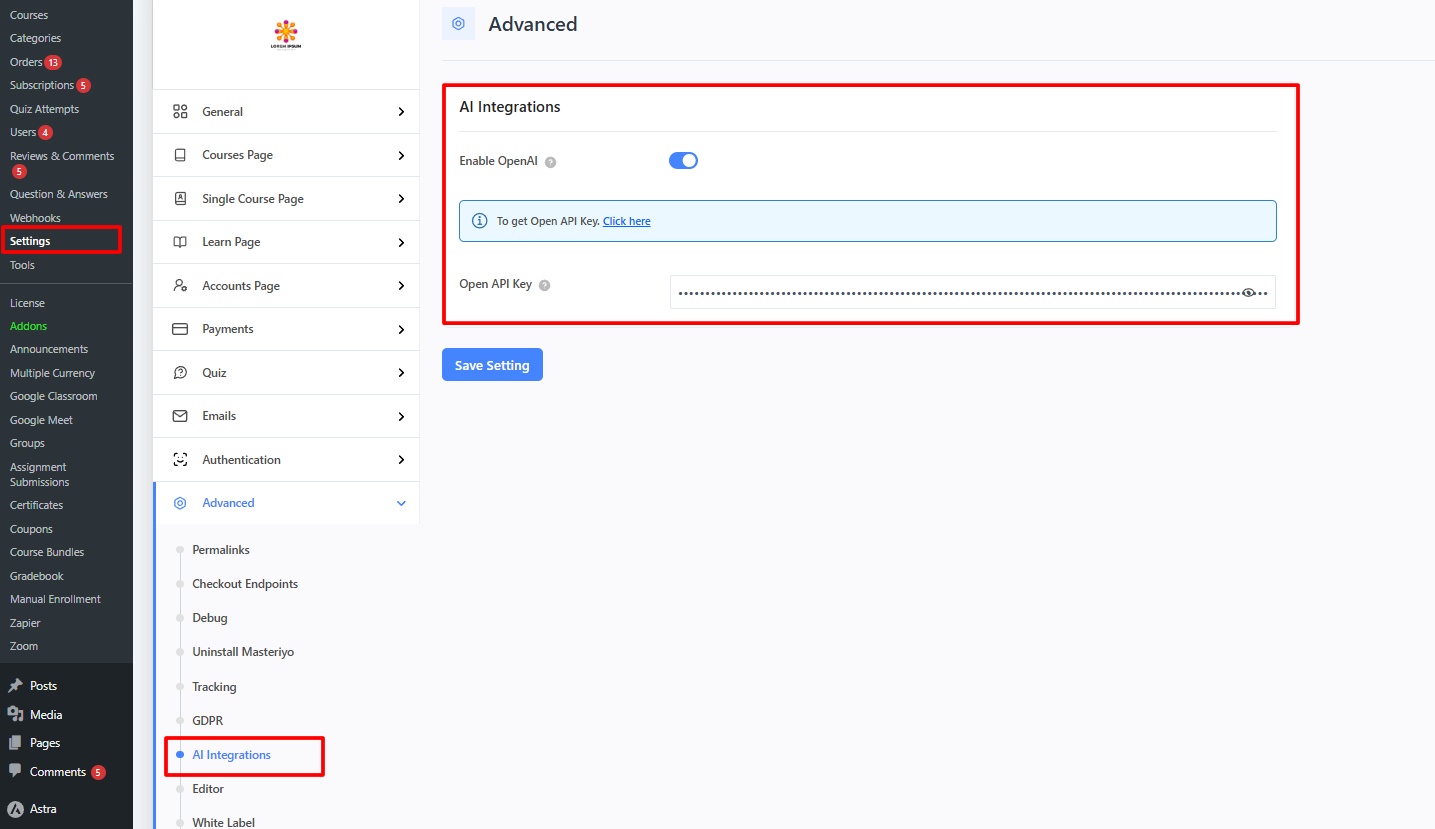
AI Integrations

To integrate AI into the Masteriyo, you will need OPEN AI API to be entered here.
Wanna know more about AI Integration?
Editor
From here you can choose the default editor for your LMS site. It has two options: Classic and Block Editor.

Dont forget to to save the setting to experience the changes.
Was this article helpful to you?
Give us Rating
Last edited on October 17, 2025.
Edit this page