Email Settings
Configure Masteriyo email notifications for admins, instructors, and students — sender name, email templates, smart tags, previews, and per-email toggles.
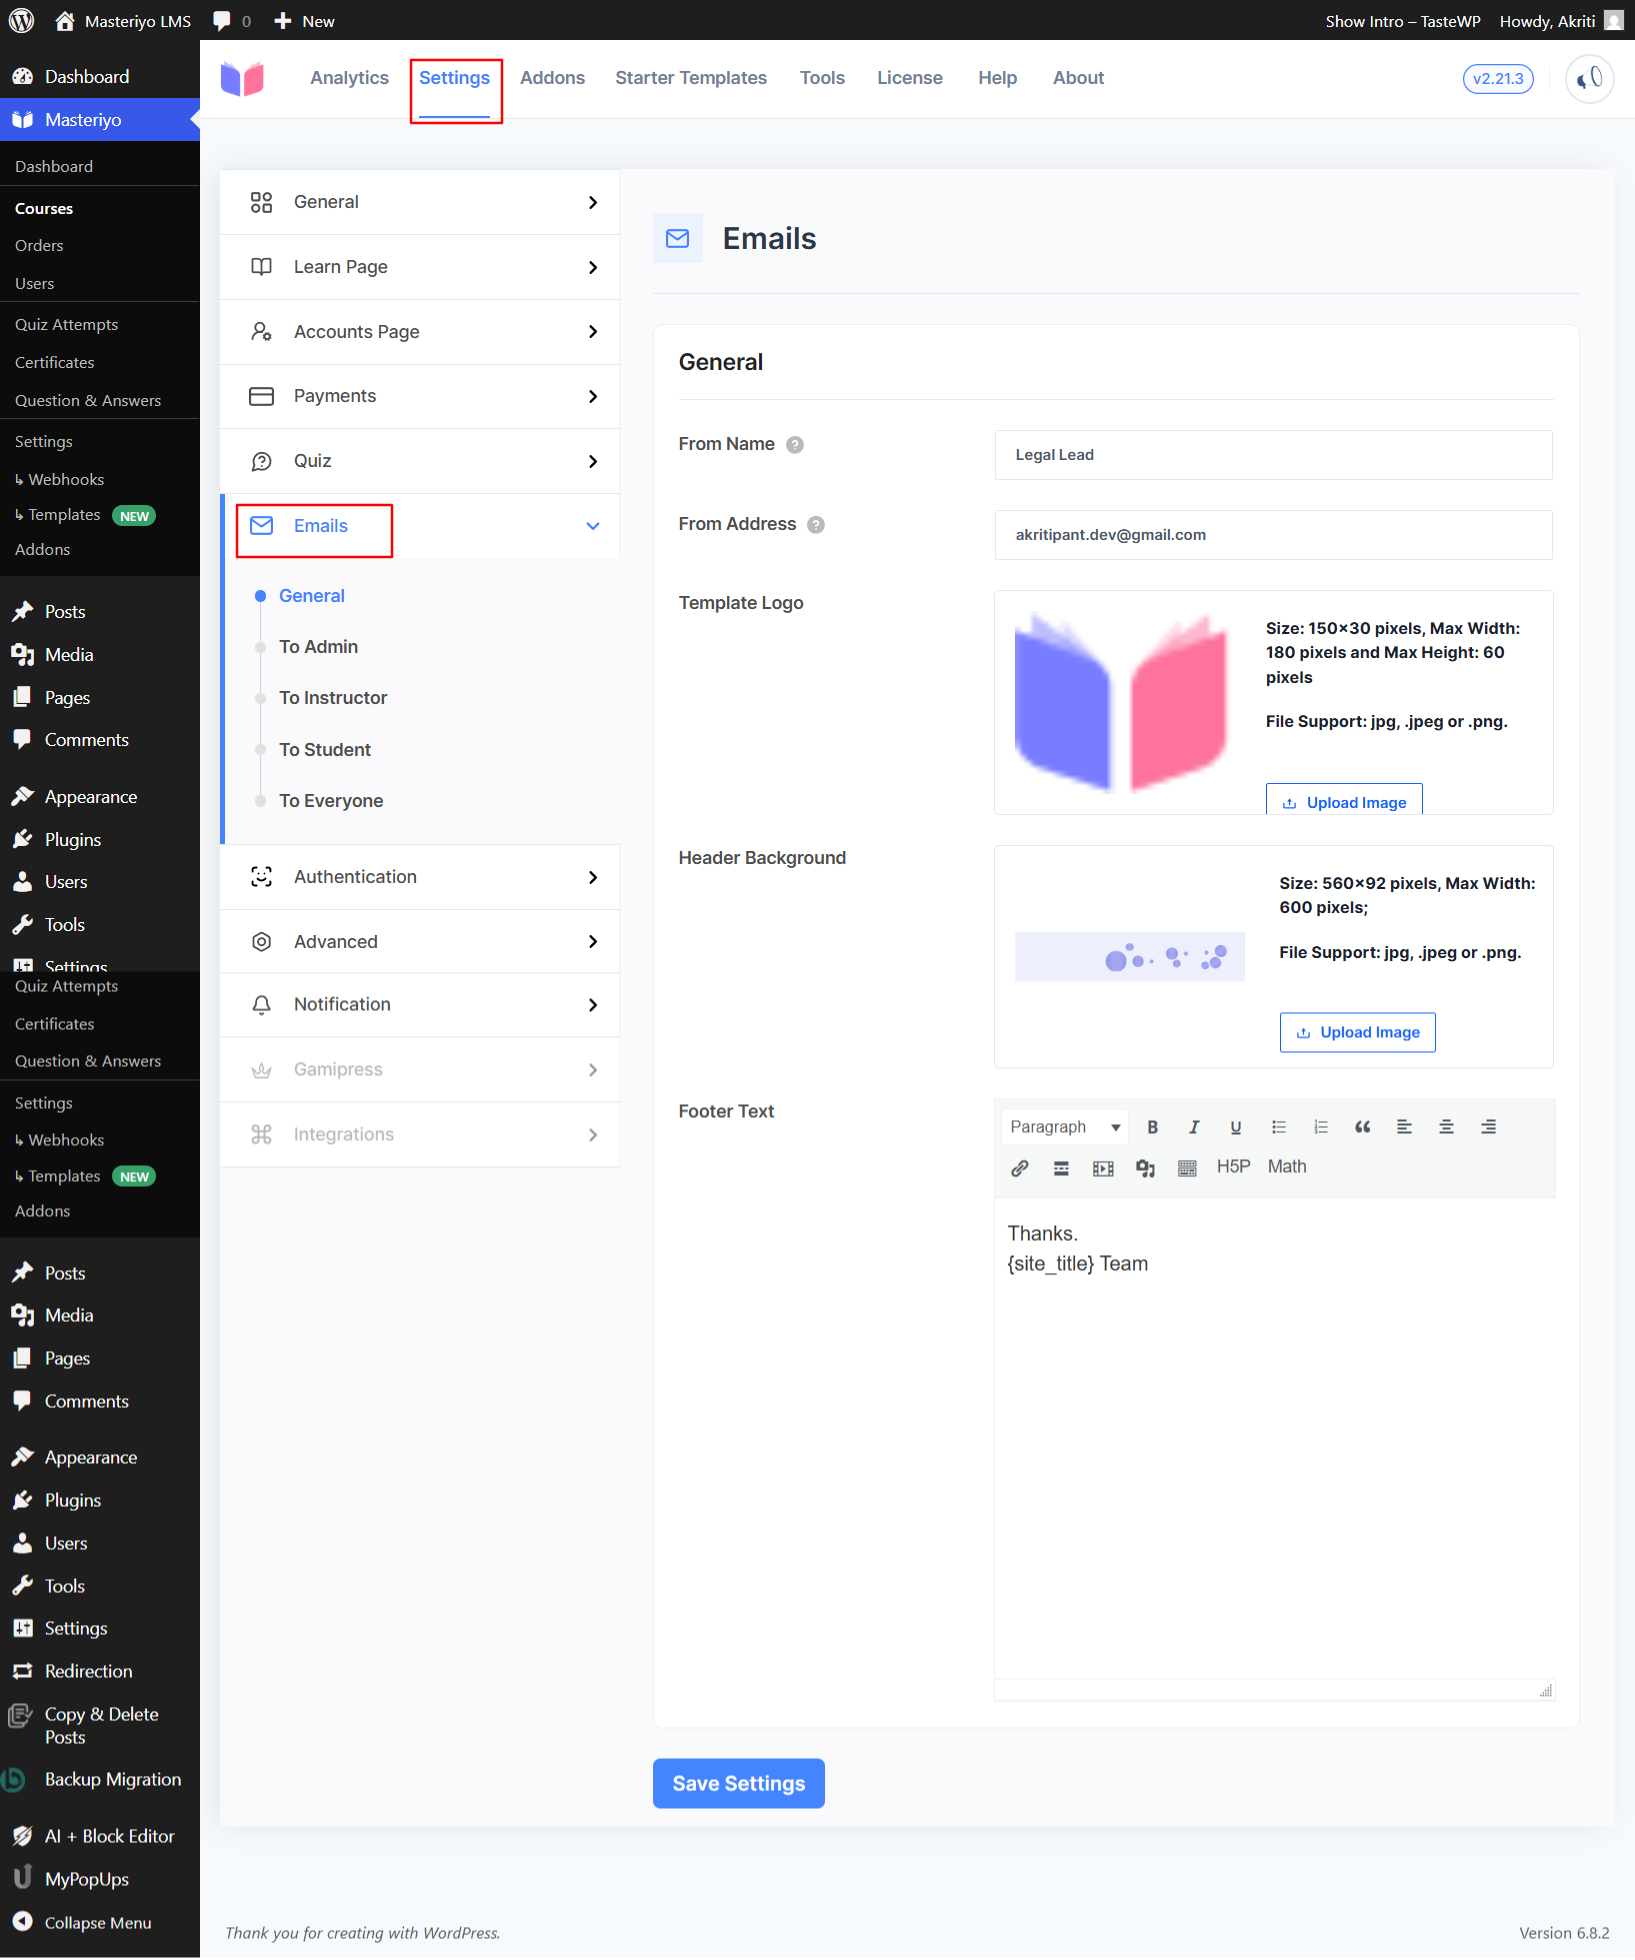
Location: Masteriyo > Settings > Emails
The Email Settings in Masteriyo LMS allow you to customize email notifications that are sent to administrators, instructors, and students of your LMS site. You can configure sender details, email templates, and automate key communication through Email Settings.
1. General Pro
If you’re a premium user of Masteriyo LMS, you can configure core email branding and sender information from here. Otherwise, you’ll have to use the default settings.
- From Name: You can customize the name that will be displayed as the sender from here.
- From Address: You can set the email address to send notifications.
- Template Logo: Upload a custom logo (150×30 pixels) that will appear in email templates. The supported file formats are JPG, JPEG, or PNG.
- Header Background: You can add an image for email headers from here. To do so, upload a custom header background image (150×30 pixels). The supported file formats are JPG, JPEG, or PNG.
- Footer Text: Customize the text that appears at the bottom of all email notifications from here. E.g., “Thank You for choosing Masteriyo.”
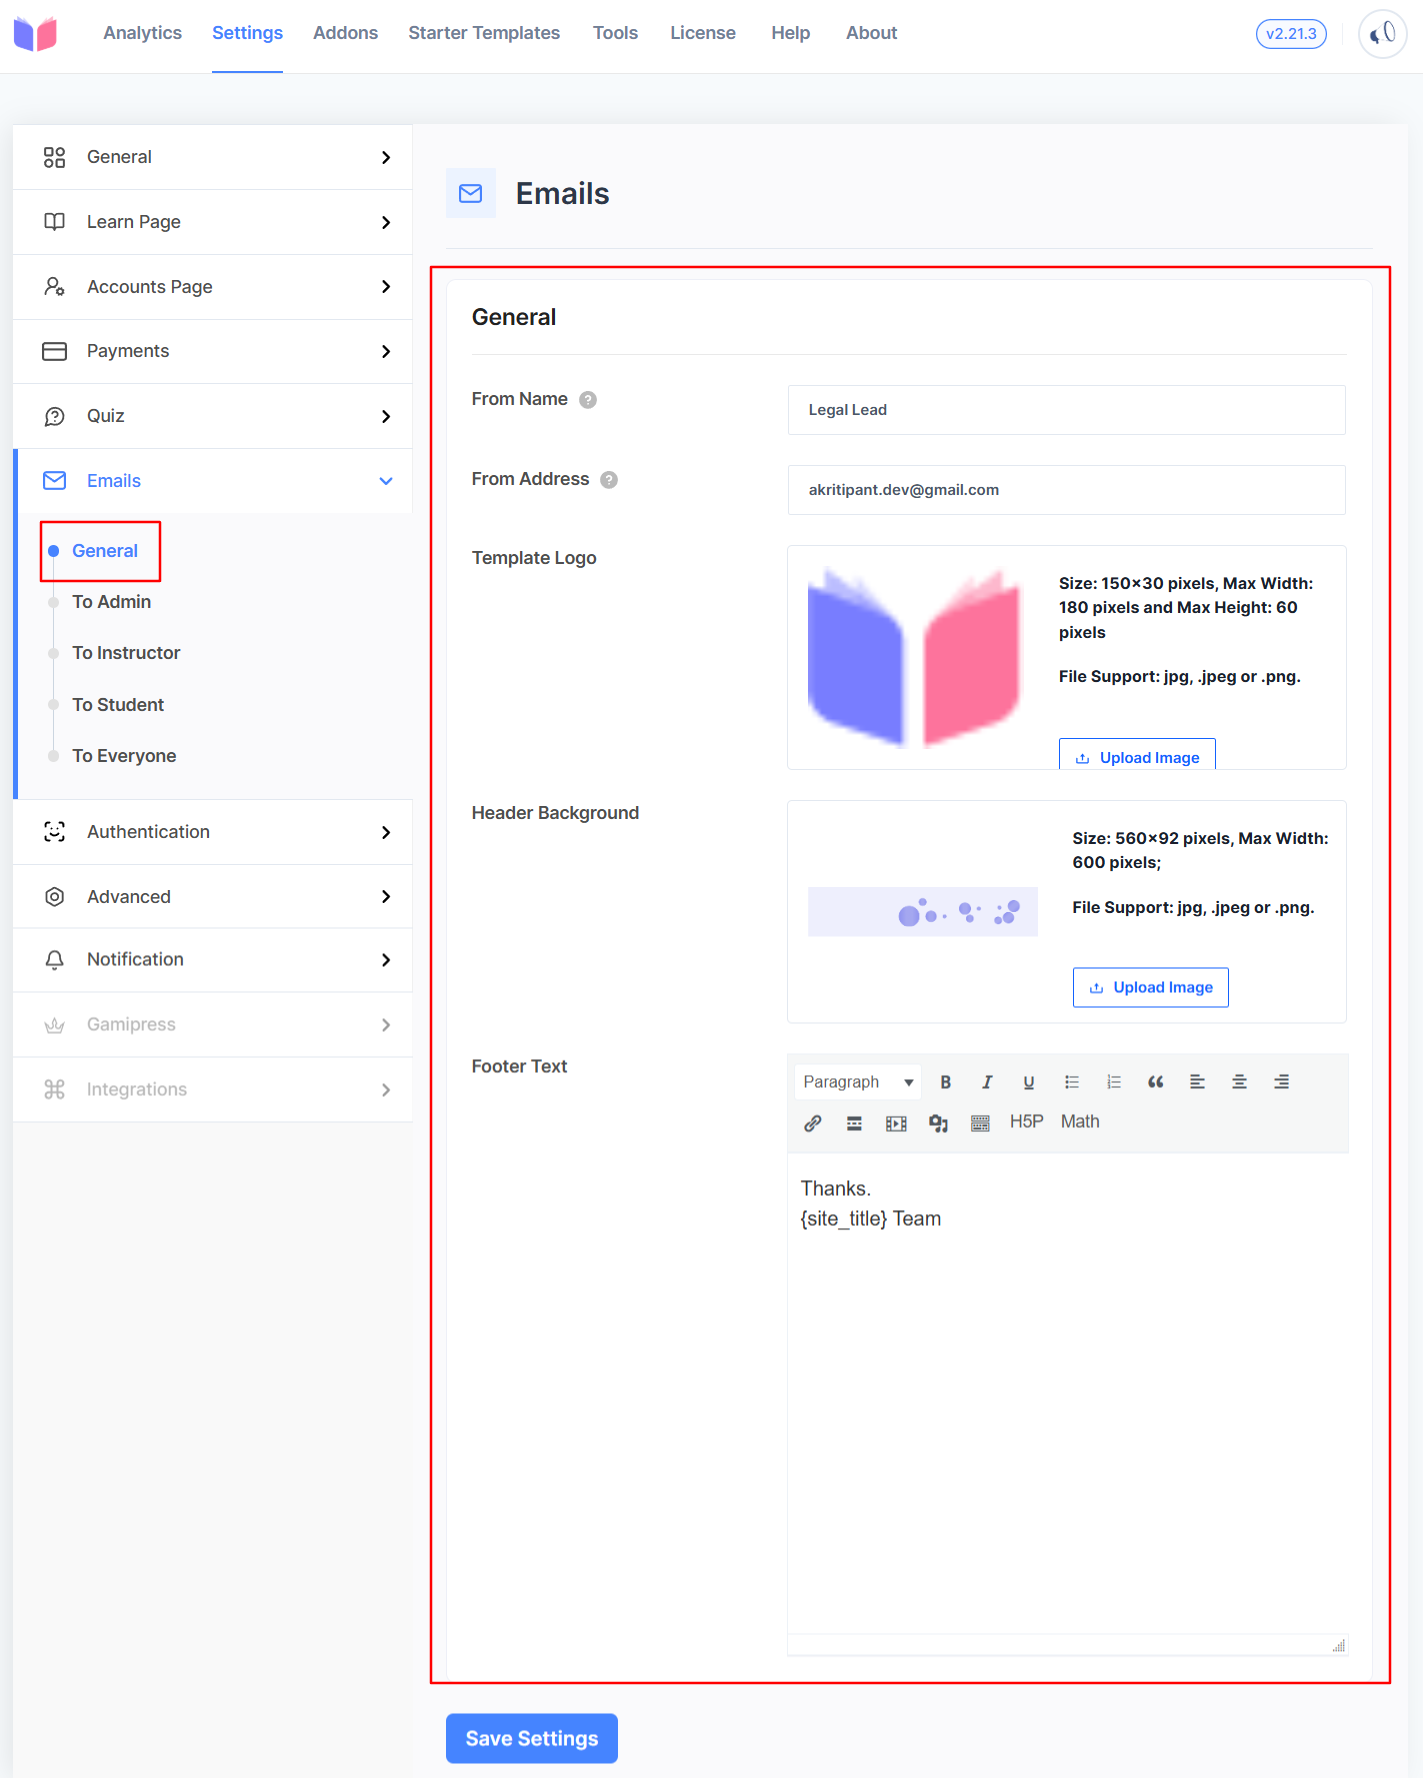
Don’t forget to hit the Save Setting button to experience the changes.
2. To Admin
From here, you can turn on/off various email notifications that are sent to administrators. You can enable or disable the following notification types:
- New Order: Notifies admin when a student purchases a course.
- Student’s Instructor Application: Notifies administrators when a student applies to become an instructor.
- Student Registration: Notifies administrators when a new student registers on the site.
- Instructor Application: Notifies administrators when someone applies for an instructor role.
- Course Start: Notifies administrators when a student begins a course.
- Course Completion: Notifies administrators when a student completes a course.
- Quiz Attempt: Notifies administrators when a student attempts a quiz.
- Withdraw Request: Notifies administrators when an instructor requests a revenue withdrawal.
- New Lesson Comment: Notifies administrators of new lesson comments.
- New Lesson Comment Reply: Notifies administrators of new replies to lesson comments.
- Assignment Submission [Pro]: Premium feature for notifying administrators when a student submits an assignment.
Click Save Setting after making changes.
3. To Instructor
You can set the notification sent to course instructors from here. Toggle to enable these options:
- Instructor Registration: Notifies instructors when their registration is processed.
- Course Start: Alerts instructors when students begin their courses.
- Course Completion: Informs instructors when students complete their courses.
- Instructor Approval: Notifies users when their instructor application is approved.
- Quiz Attempt: Alerts instructors when students attempt quizzes in their courses.
- Q&A Question: Notifies instructors when a student asks a question.
- New Lesson Comment: Notifies instructors of new lesson comments.
- New Lesson Comment Reply: Notifies instructors of new replies to lesson comments.
- Withdraw Request Approved: Notifies instructors when their withdrawal request is approved.
- Withdraw Request Pending: Notifies instructors when their withdrawal request is pending.
- Withdraw Request Rejected: Notifies instructors when their withdrawal request is rejected.
- Assignment Reply [Pro]: Premium feature for notifying instructors about assignment responses.
Click on the Save Setting button at the bottom to apply your changes.
4. To Student
This section controls which automated emails students receive while interacting with your courses. From here, manage the notifications that are sent to enrolled students:
- Student Registration: Sends a confirmation email when students register on your site.
- Automatic Registration: Notifies users when they’re automatically registered after checkout.
- Order Completed: Confirms when a course purchase has been successfully processed.
- Order OnHold: Alerts students when their order requires additional verification.
- Order Cancelled: Notifies students if their course order has been canceled.
- Instructor Application Rejection Notification: Informs students when their application to become an instructor is declined.
- Q&A Reply: Notifies students when they receive a reply to their question.
- New Lesson Comment Reply: Notifies students of new replies to their lesson comments.
- Group Enrollment: Notifies students when they are enrolled in a group.
- Group Joining: Notifies students when they join a group.
- Group Published: Notifies students when a group is published.
- Course Completion: Congratulates students when they finish a course.
- Course Completion Reminder: Sends a reminder to students to finish their course, dispatched after 7 days of inactivity. It helps improve course completion rates.
A well-configured student notification can significantly improve user experience and reduce support inquiries. Don’t forget to save the settings after making changes.
5. To Everyone
From here, you can configure system-wide notifications that are sent to all user types: administrators, instructors, and students. These notifications relate to account security and verification features.
- Password Reset: Sends password reset instructions when users request to recover their account. You can enable this for account security purposes.
- Email Verification: Sends verification emails to users to confirm their email address. It is essential for maintaining user account validity and reducing spam registrations.
- Two-Factor Authentication OTP [Pro]: Premium features that let you send one-time passwords for two-factor authentication. It adds an extra layer of security to user accounts.
Apply your configuration by clicking on the Save Setting button.
More Options for Masteriyo LMS Premium Users
As a Masteriyo Pro user, you can fully customize email notifications for administrators, instructors, and students. You can also preview templates before sending them. For each email setting, you’ll get the Edit and Preview feature.
Here’s how to use them:
Edit Email Templates
You can click on the Edit button and edit the following information:
- To Address: Override the default recipient (e.g., use [email protected]). You can enter multiple email addresses here by separating them with commas.
- From Name: Customize the sender’s display name from here.
- From Address: You can set a dedicated sender email from here.
- Reply To Name: Enter the name to display as the reply-to name when the recipient replies to your email.
- Reply To Address: Define where replies should go.
- Subject: Write a clear, engaging subject line.
- Content: Use the editor to format text, add images, insert mathematical syntax, and more from here. You can also add Smart Tags to the content.
They’re the dynamic placeholders that auto-populate email with specific data. In the content editor, place your cursor where you want to add Smart Tag. Next, click the Add Smart Tags button to display a list of available tags. Select an appropriate tag to add to your content.
For example, in the first line, if you want to auto-populate an email with the receiver’s name that is available through their billing name, you can use {billing_first_name} smart tag.
Resetting to Default
If you feel you overwrote a template, you can always return to the original content. Click Reset to Default, and the original content and settings will be restored.
Preview Emails
To see how the email looks on the user’s end, click the Preview button. The preview includes content along with your Template Logo, Header Background, and Footer Text from General Settings.
Was this article helpful to you?
Give us Rating
Last edited on July 28, 2026.
Edit this page