Setup Wizard
When you install and activate the Masteriyo plugin for the first time, you will be presented with a Setup Wizard screen. This setup wizard helps you set up your LMS site in a few steps.
Each steps are mentioned below:
Welcome To Masteriyo
As soon as you activate the Masteriyo plugin, you'll see this interface of the Masteriyo setup Wizard. From here, you can either start setting up the LMS or skip and go to your dashboard.
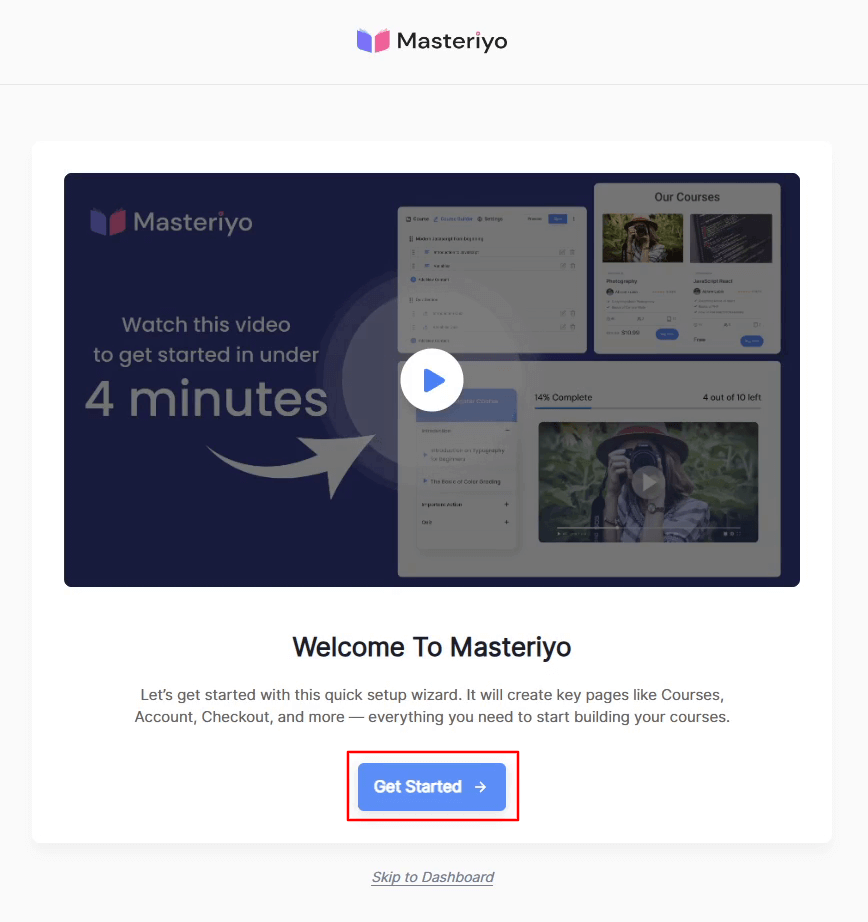
- If you are using Masteriyo LMS for the first time, we recommend starting the setup wizard by clicking the Get Started button.
- If you are already familiar with Masteriyo LMS and don't need to run this setup wizard, you can skip this process by clicking the Skip to Dashboard button.
Business Type (Step 1 of 5)
The first step in setting up your Masteriyo Learning Management System is selecting your business type. This choice determines how your LMS platform will be structured.
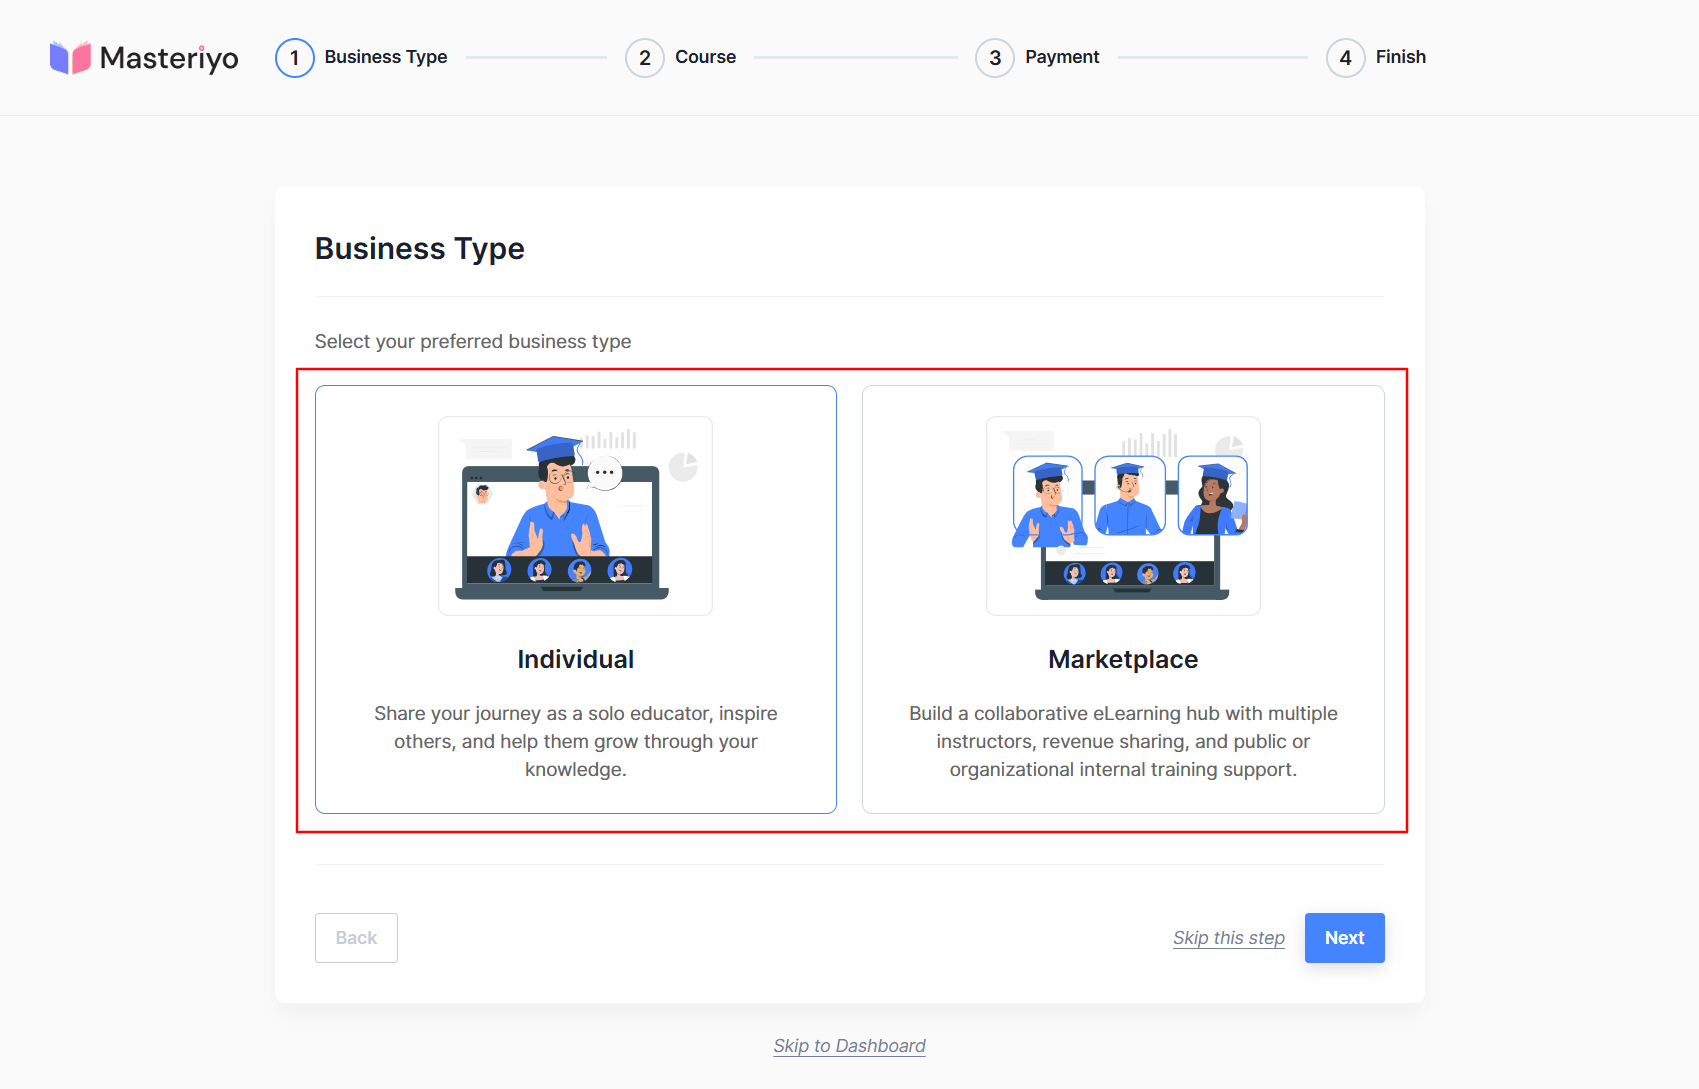
Individual
This option is for solo educators who want to share knowledge. So, you can choose this option if you're an independent instructor, coach, or subject matter expert.
Review both options carefully based on your business goals and select your preferred business type. Click on Next to continue the setup. You can also click "Back" to return to the previous step to change your settings.
If you choose Individual business type, you can jump directly to Step 3.
Marketplace (Step 2 of 5)
It is designed for those willing to create a multi-instructor eLearning platform. This option allows multiple teachers to offer courses through your platform. You can make a community where educators can earn by teaching online.
You now need to configure your marketplace revenue sharing settings. This step determines how course earnings will be split between your platform (admin) and your instructors. So, after choosing Marketplace as your business type, you'll have to configure its settings:
Enable Revenue Sharing
- Toggle between "Yes" and "No" to activate or deactivate revenue sharing.
Commission rate: When set to "Yes" (default and recommended for marketplaces), you can specify the commission split using the slider to increase or decrease the rate.
- When set to "No", instructors receive 100% of their course sales.
Payout method: The dropdown menu shows three payment methods for instructor payouts:
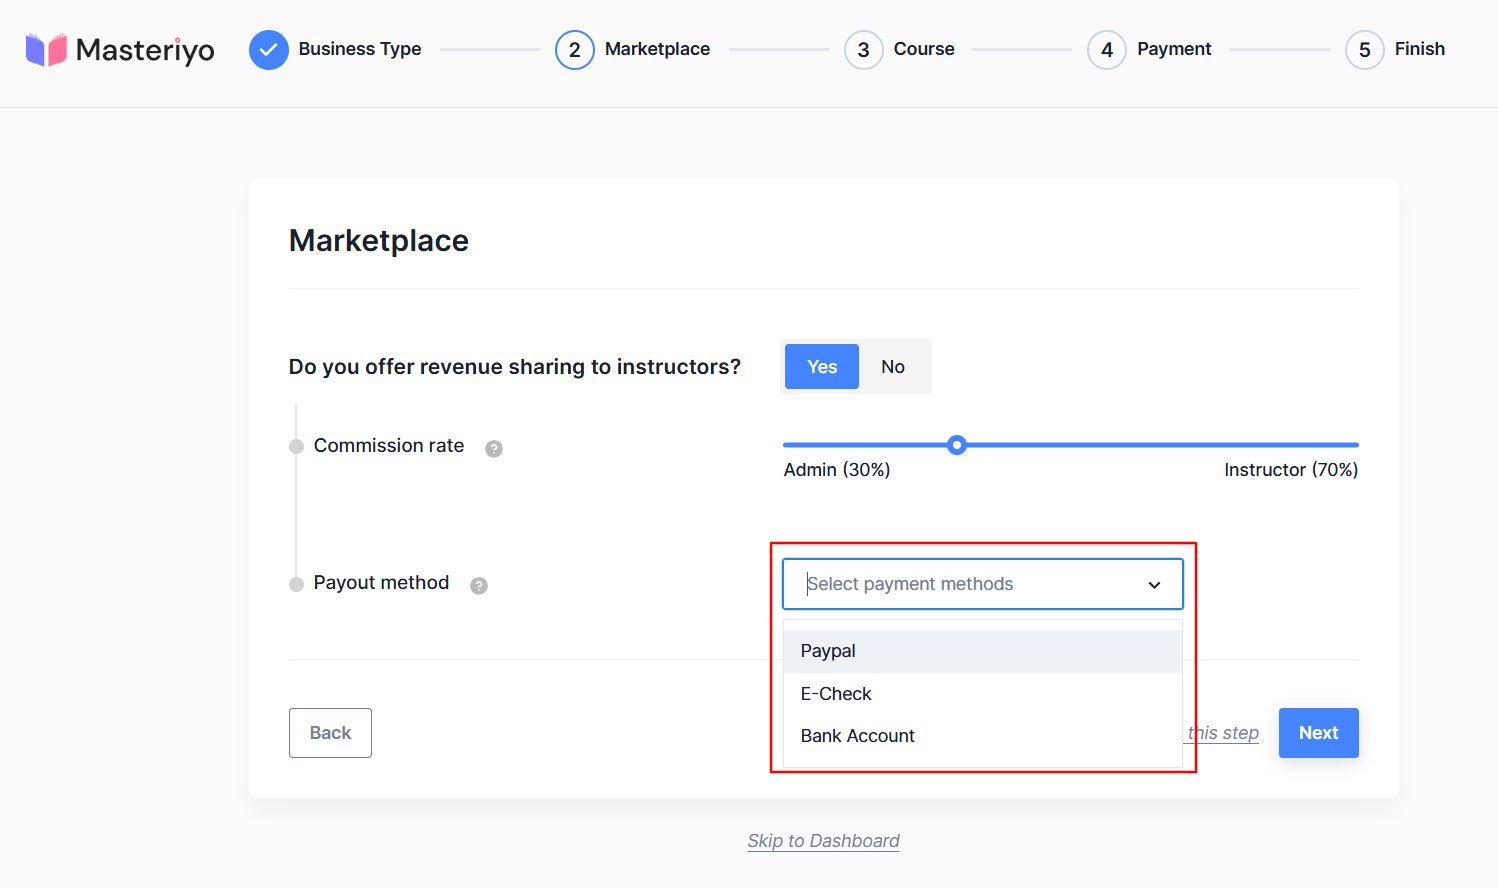
PayPal - Process instructor payments via PayPal accounts.
E-Check - Send electronic checks to instructors.
Bank Account - Direct deposit to the instructor's bank account.
After selecting your preferred payout methods, click Next to continue setting up your Masteriyo LMS marketplace.
Course (Step 3 of 4)
This step helps Masteriyo understand your course creation plans to optimize your dashboard experience.
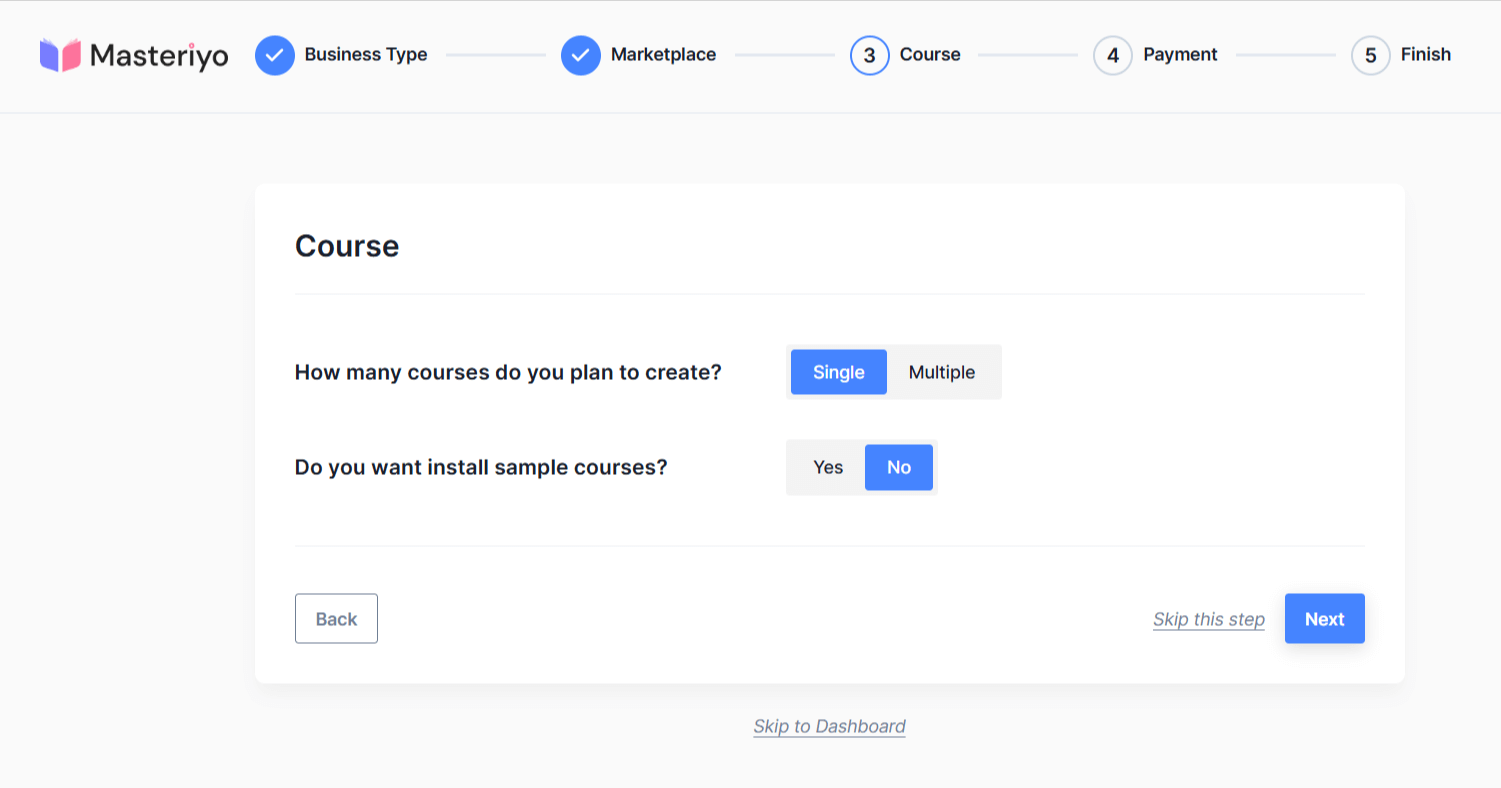
Course Configuration Options
How many courses do you plan to create?
Single (currently selected): Choose this if you plan to launch your LMS site with one flagship course.
Multiple: Select this if you intend to create a catalog of several courses.
Do you want to install sample courses?
Yes: Adds pre-built demo courses to help you understand the structure.
No: Starts with a clean slate, no sample content.
If you select Yes, you'll get the following options:
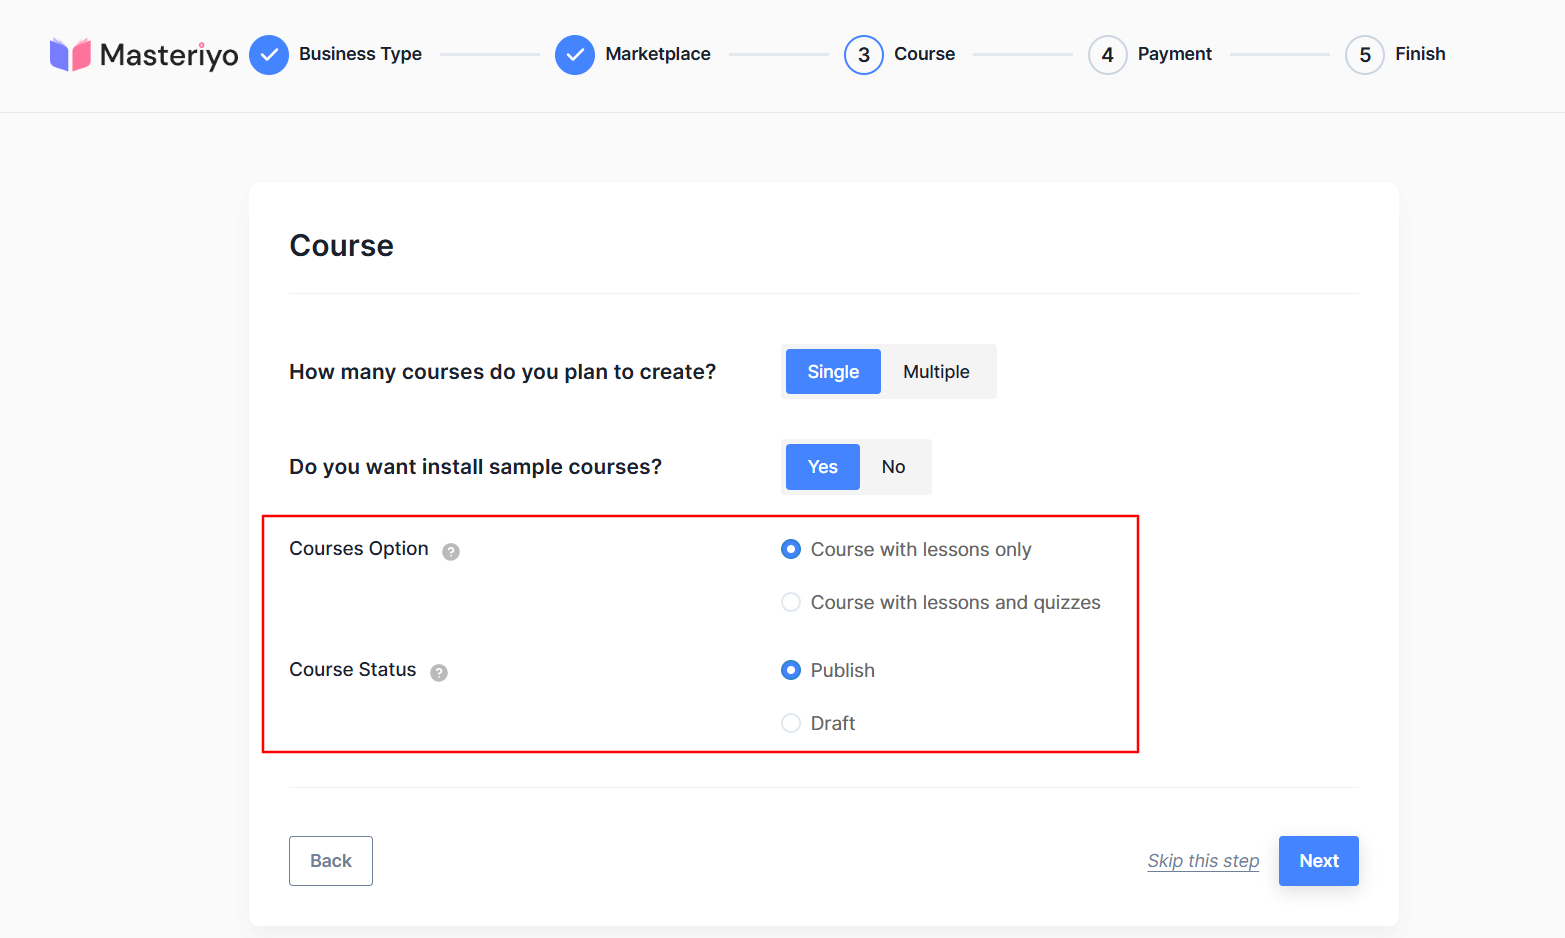
Courses Options
Course with lessons only: The Sample course will contain only lesson content without assessment elements.
Course with lessons and quizzes: Sample courses include instructional content and quiz assessments.
Course Status
Publish: Sample courses will be immediately visible to your site visitors.
Draft: Sample courses will be created but hidden from public view until you manually publish them.
These settings help Masteriyo create relevant sample content that aligns with your learning platform goals. Click Next to continue with the setup process.
Payment (Step 4 of 5)
This screen configures how you'll receive course payments on your Masteriyo LMS platform.

Will you offer paid courses?
Yes: Enables monetization features.
No: For free courses only.
If you select Yes, you'll see the following options:
How would you like to receive payments?
Select your preferred payment gateways from the options below:
Currency: Click the dropdown to select the country and its currency.
Offline Payment: Manual payment processing (bank transfers, checks).
PayPal: Accept payments through PayPal.
- Enter your PayPal Email if you enable **PayPal.
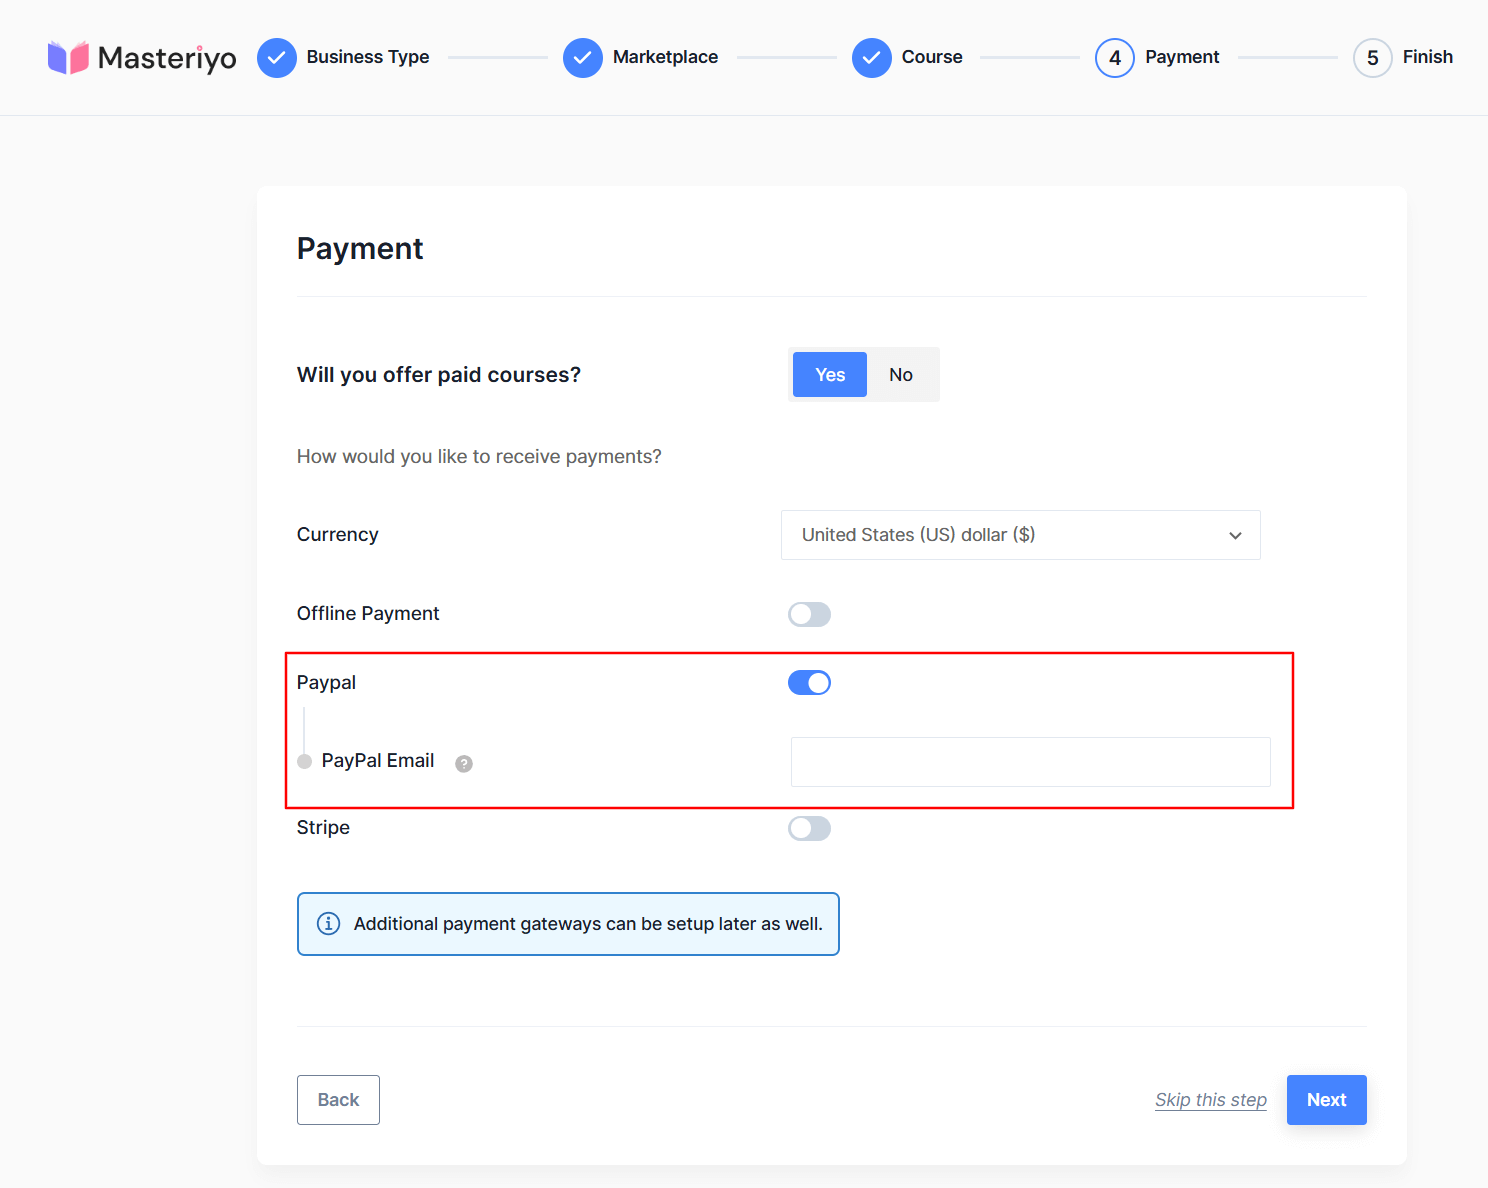
Stripe: Process credit card payments via Stripe.
- Enter your Live Publishable Key and Live Secret Key, if you enable Stripe. Here's a detailed guide on setting up Stripe Payment gateway.
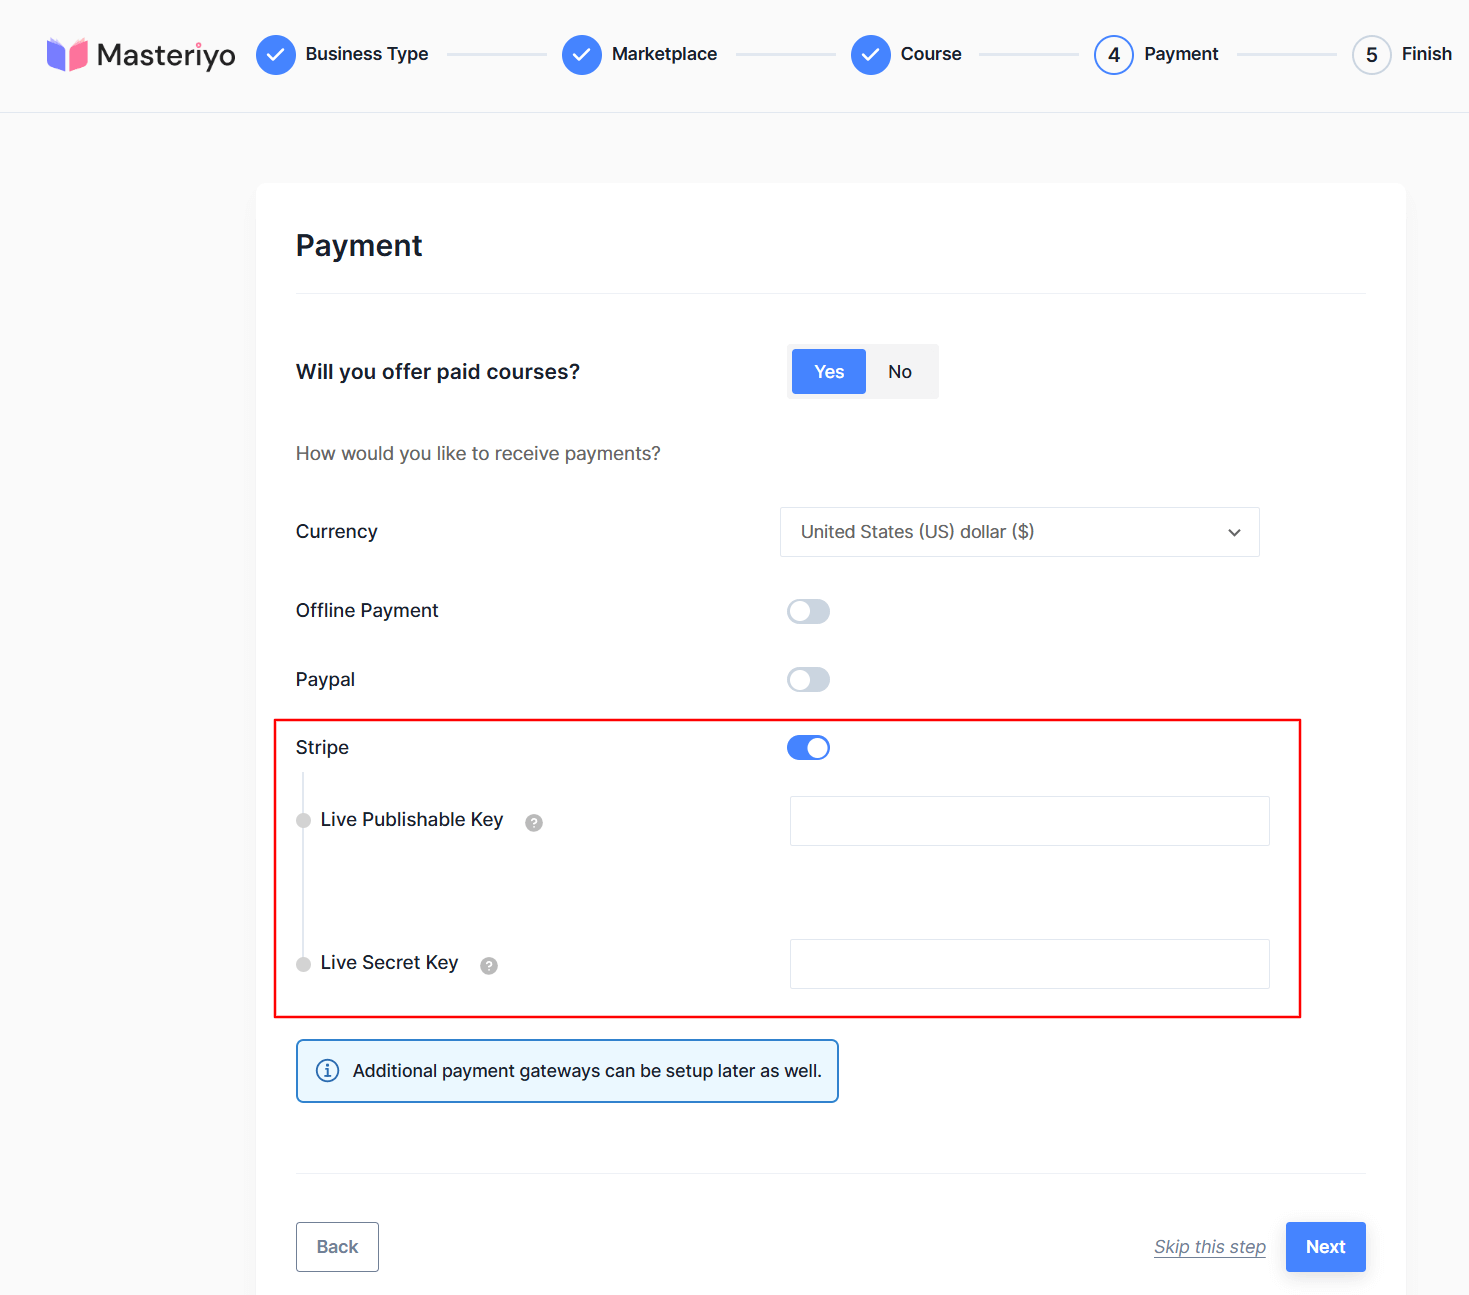
You can turn any payment method on to enable it for your platform. Click Next to proceed to the final setup step, Back to return to Course configuration, or Skip this step to use default settings.
Finish (Step 5 of 5)
Congratulations! You've completed the Masteriyo LMS setup wizard. This final screen confirms that all your configuration settings have been saved and your LMS platform is ready to use.
Success Message: "Success! You're all set!" indicates the setup process is complete.
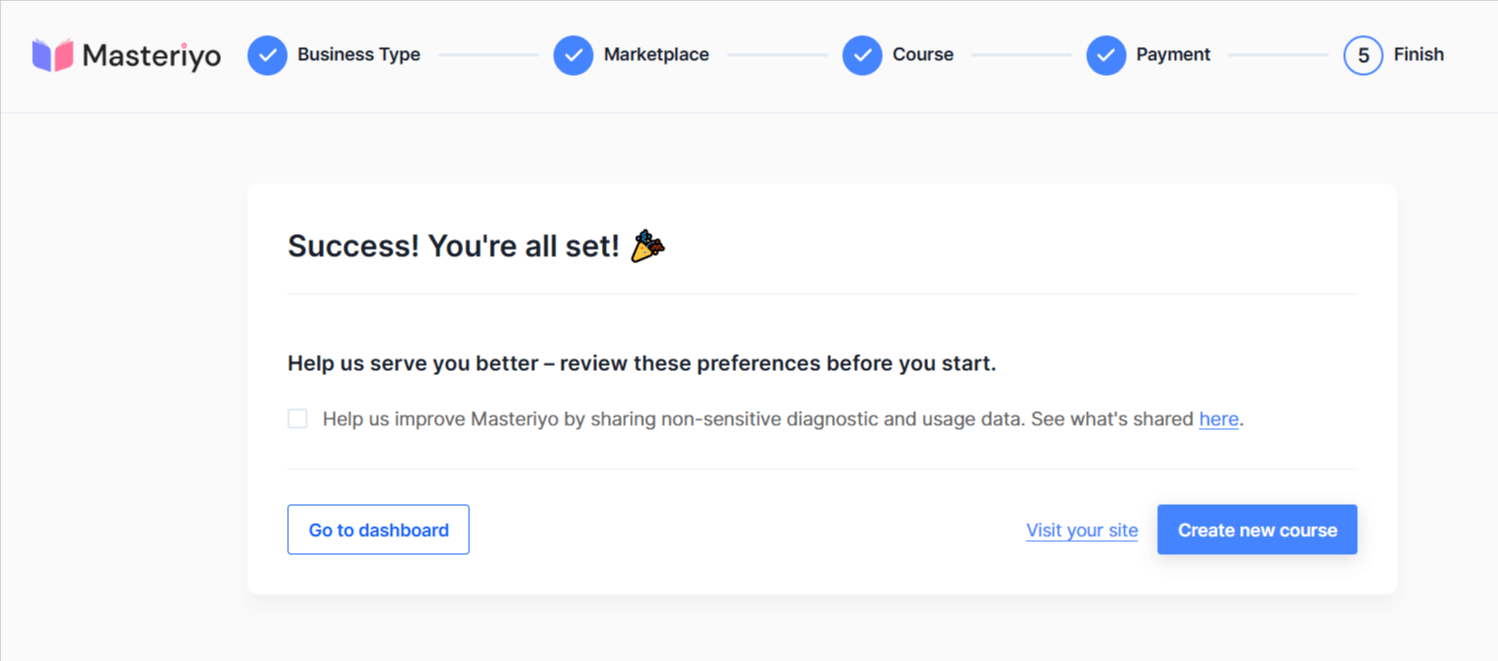
Usage Data Option:
The checkbox for Help us improve Masteriyo by sharing non-sensitive diagnostic and usage data is optional. You can click the "here" link to learn more about what data is collected. The checkbox is unchecked by default, requiring your explicit opt-in
Next Steps Options:
Go to dashboard: Takes you to the Masteriyo admin dashboard, where you can manage your LMS. Visit your site: Opens your WordPress frontend to see how your LMS appears to visitors. Create a new course: You can begin creating your first course immediately.
What Happens Now?
All your settings from the previous steps (Business Type, Course preferences, and Payment options) have been applied to your Masteriyo LMS installation. Your WordPress site is now configured as a learning management system according to your specifications.
Select any of the three options to begin working with your newly configured Masteriyo LMS platform.
Was this article helpful to you?
Give us Rating
Last edited on October 17, 2025.
Edit this page